When you install WPCasa for the very first time you may want to keep in mind that you need a running WordPress installation in order to get started.
If you need more information about how to install WordPress in general, please visit the official WordPress codex.
Once your WordPress installation is up and running, you’re ready to install WPCasa. There are different ways to install the WPCasa plugin.
Automatic Installation
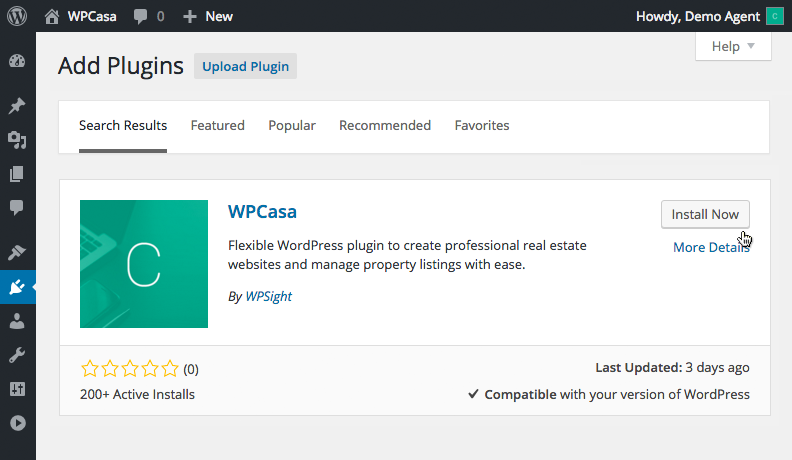
Automatic installation is the easiest way to install WPCasa. Log into your WordPress admin and go to WP-Admin > Plugins > Add New. Then type “WPCasa” in the search field and click Install Now once you’ve found the plugin.
Manual Installation
If you prefer to install the plugin manually, you need to download it to your local computer and upload the plugin folder on WP-Admin > Plugins > Add New > Upload Plugin. When the upload is finished a link to activate the plugin will appear.
Once the plugin is activated you can make your settings on WP-Admin > WPCasa > Settings. Also read Setting up WPCasa.