Once you have set everything up you are ready to sumbit your first listing through the front end dashboard. Therefore you need to visit the Submit Page selected in the WPCasa Dashboard settings (also see Creating Dashboard Pages).

The following screenshots were created with the Twenty Twelve theme. Keep in mind that the dashboard has been built with a minimalistic style to match your theme style.
Submission Steps
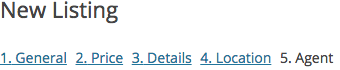
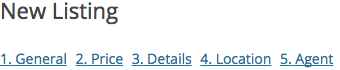
On the top of the listing editor form you can see the different steps that you will go through while adding a property. Once a step has been submitted, the step title becomes clickable and you can go back and forth during your submission.
General Information
When you enter the dashboard listing editor you will see a list of submission steps and the form for the first step General Information.
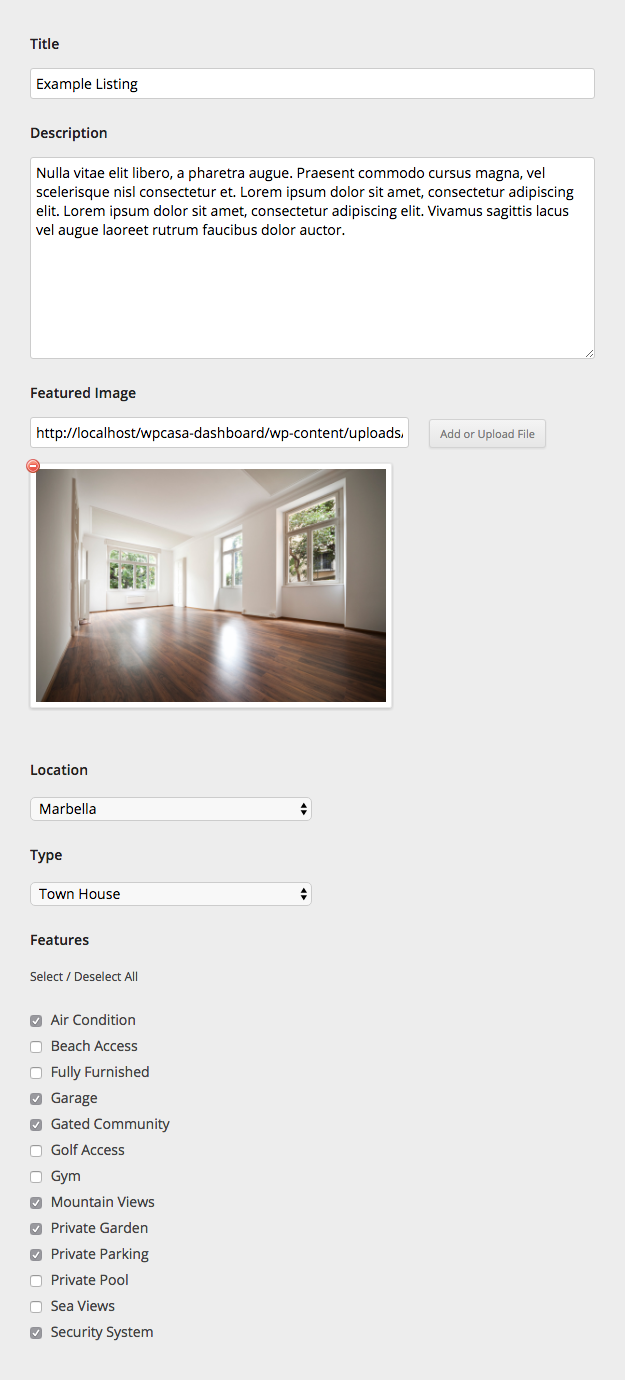
Here we can enter general listing details like title, description, add a featured image and add the listing to the different listing taxonomies (Location, Type and Features). Hit the Next Step button when you are done.
Price Information
The next submission step is the price information. Here you can provide the property price in the currency that is set in the general WPCasa settings.
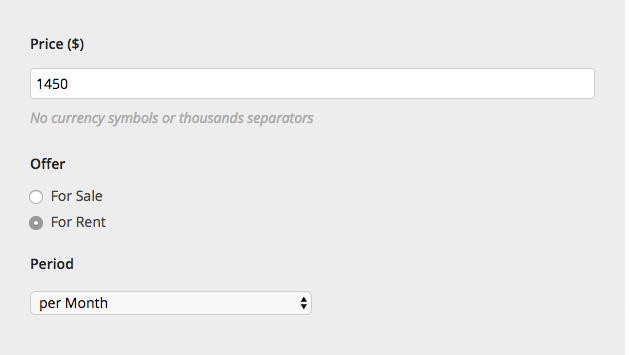
Further you can select the offer type (sale or rent) and define the rental period if necessary. To proceed click the Next Step button.
Property Details
On the next screen we will see the property details form. Depending on the details that you have registered or set on the WPCasa settings page they might be different from the ones on the following image.
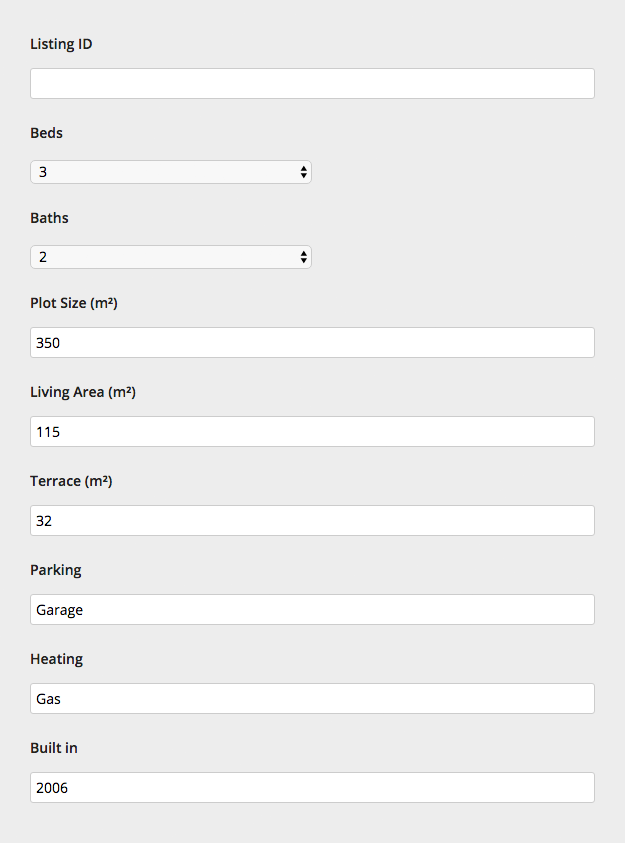
Important is that not all the users might see the Listing ID field. Through the dashboard settings you can decide to NOT let users set or edit the ID or their property. If not allowed, this field will be hidden and the ID set automatically.
Administrators and Listing Admins will always be able to edit the listing ID. If you want it to be set automatically, just leave the field blank.
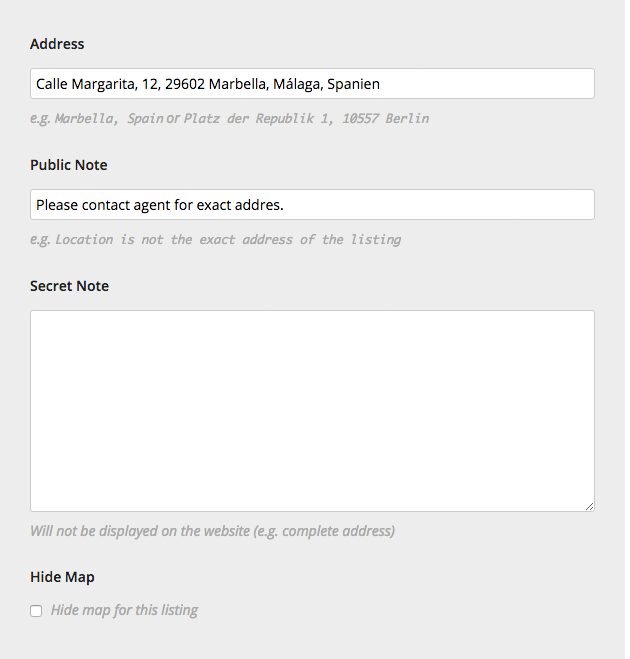
Property Location
To display a Google Map on the listing page users can add the property location by providing either an exact address or any location that can be geolocalized.
It is further possible to add a public note that is displayed under the map on the listing page and a secret note for internal use that would only be displayed when the listing is edited through the dashboard or the WordPress admin.
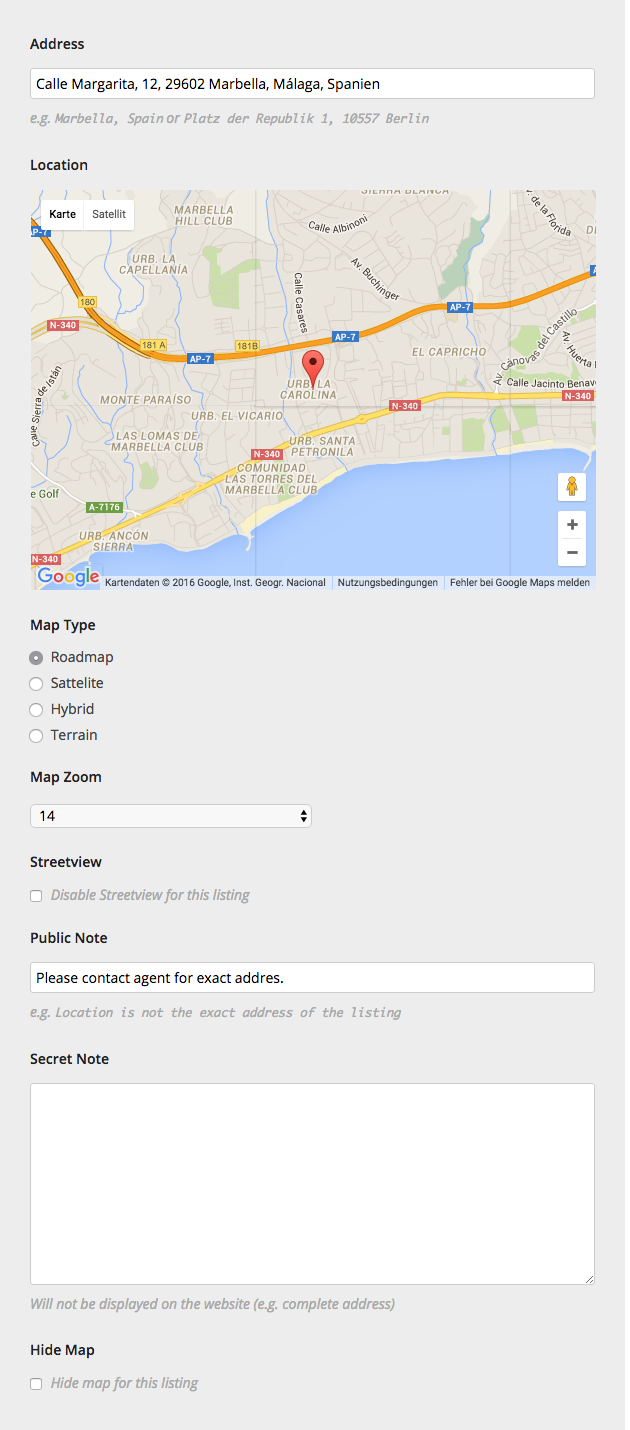
In case you use the WPCasa Admin Map UI add-on more advanced options will be visible here. The user will be able to set the location by clicking on the map and make further adjustments like map type, zoom and de-/activate Streetview.
When you enable paid listings with the dashboard Package payment option, the location step is permission-based. That means you can enable or disable it for specific packages. For example users with a basic or trial package cannot access it and display a map on their listings while users with an advanced package can.
Agent Information
The last one of the default steps is the Agent Information where you can add details about the listing agent.
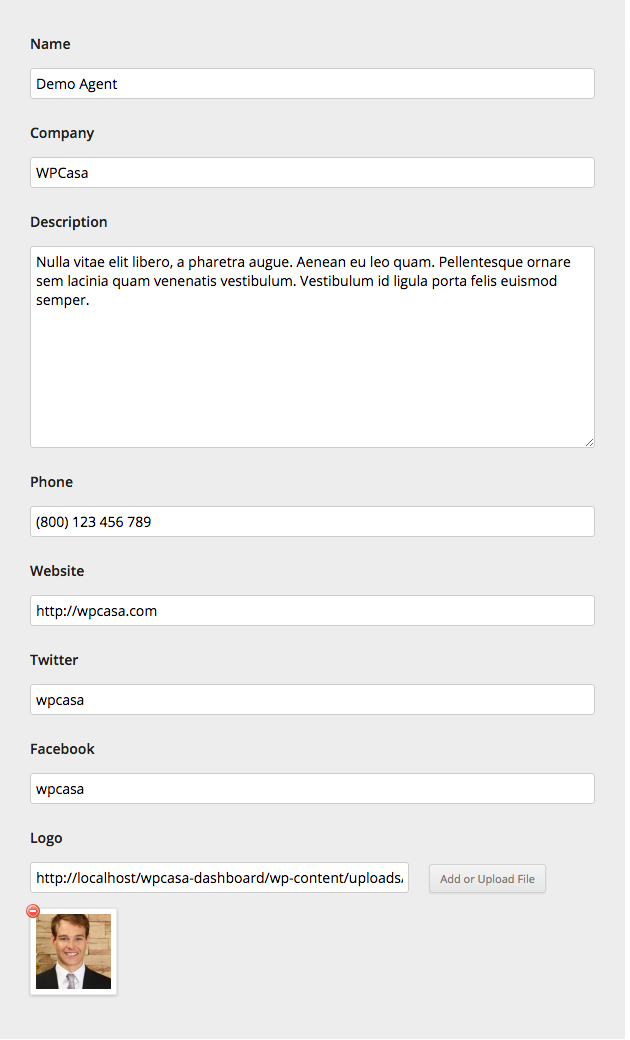
By default these will already be filled in the the data available from the agent profile. Here you have the chance to change the individually for each listing.
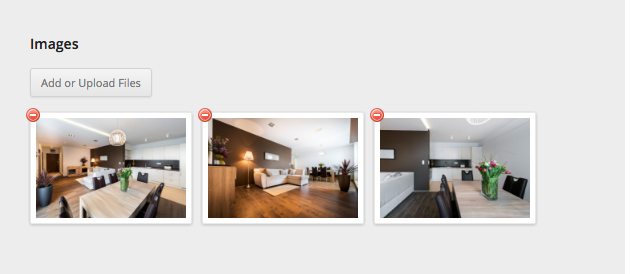
Property Images
If you use one of our paid themes or an add-on that activates the WPCasa gallery functionality, you will see another step to add property images. The images are uploaded using the WordPress media uploader and the order can be changed by simple drag & drop.
In case the number of images to be displayed on the front end listing is limited through package permissions, a note will inform the user.
When you enable paid listings with the dashboard Package payment option, the image upload step can be activated or deactivated for different packages. It is possible to let users with an advanced package upload a gallery, but users with a more basic package will only be able to upload the featured image during the General Information step.
Further the number of images displayed on the front end listing can be limited. Again, this could be set to a smaller number of images for basic packages and be increased for advanced packages.
Submit Listing
At the bottom of the last step of the submission form you will now see a Submit Listing button. Once you click this button, the listing will be submitted for review (if activated in settings) or go live.
If an approval is required, the listing will be saved with a Pending approval status and an admin or listing admin gets a notification in the WordPress back end.
After submitting the listing, you will see a preview. If you need to edit something, you can by clicking the Edit Listing link on the preview page. Once the listing has been approved it depends on the Allow users to edit active listings (also see Setting up WPCasa Dashboard) setting if a listing can still be edited or not.